Overview
Adding a new contact to your Contacts list in Trella CRM is easy enough, but if you get a contact's business card, you can create a contact in the mobile app on your phone. The steps are super simple and are shown below.
How to create a Contact
To create a contact using a business card you can either take a picture from within the app, or you can scan an image already on your phone. This means that you could send an image of a business card to another person's phone so they could add the contact.
Follow these steps to create a contact.
|
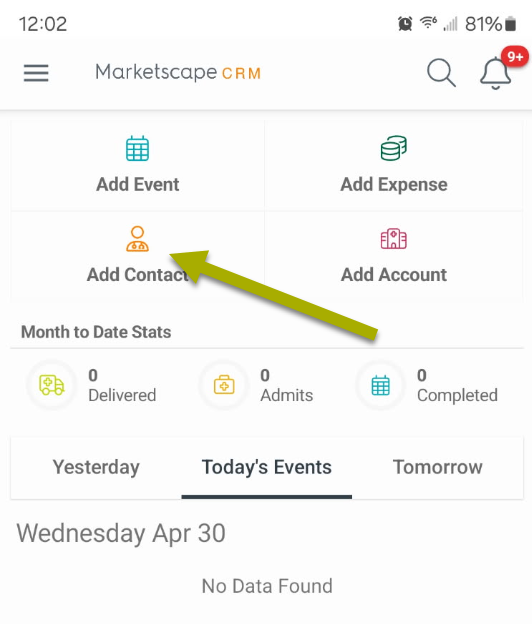
Whether the image of the business card is already on your phone or if you want to take the picture within the app, the first step takes place on the Trella CRM mobile home page.
|
 |
|
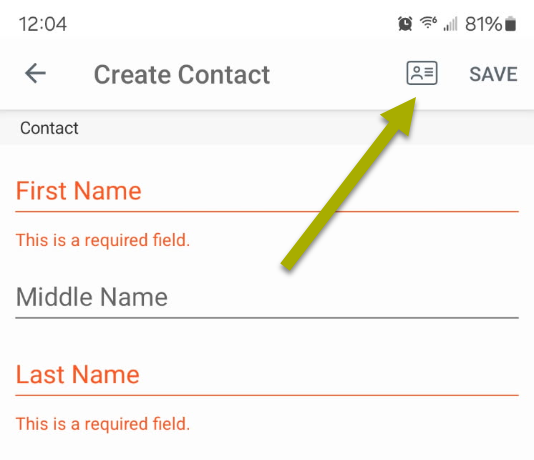
The Create Contact page opens.
|
 |
|
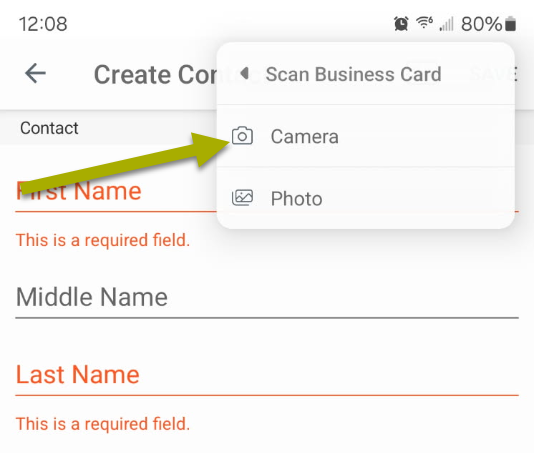
Two options are made available.
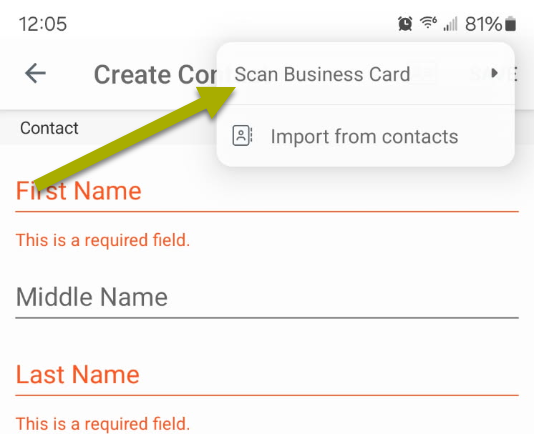
There are two options available to scan a business card. |
 |
|
Two options are presented to scan a business card
|
 |
|
|
|
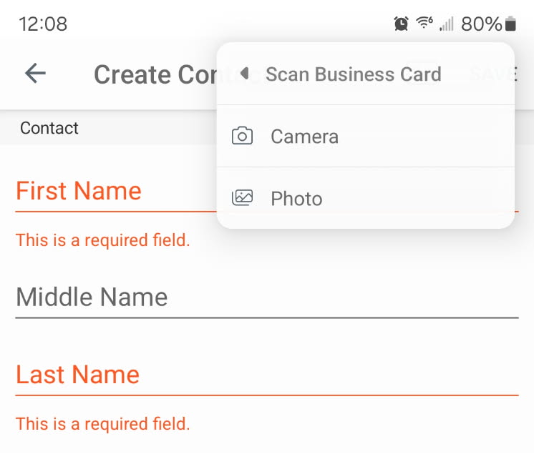
To take an image within the app that will be scanned immediately, choose the Camera option.
|
 |
|
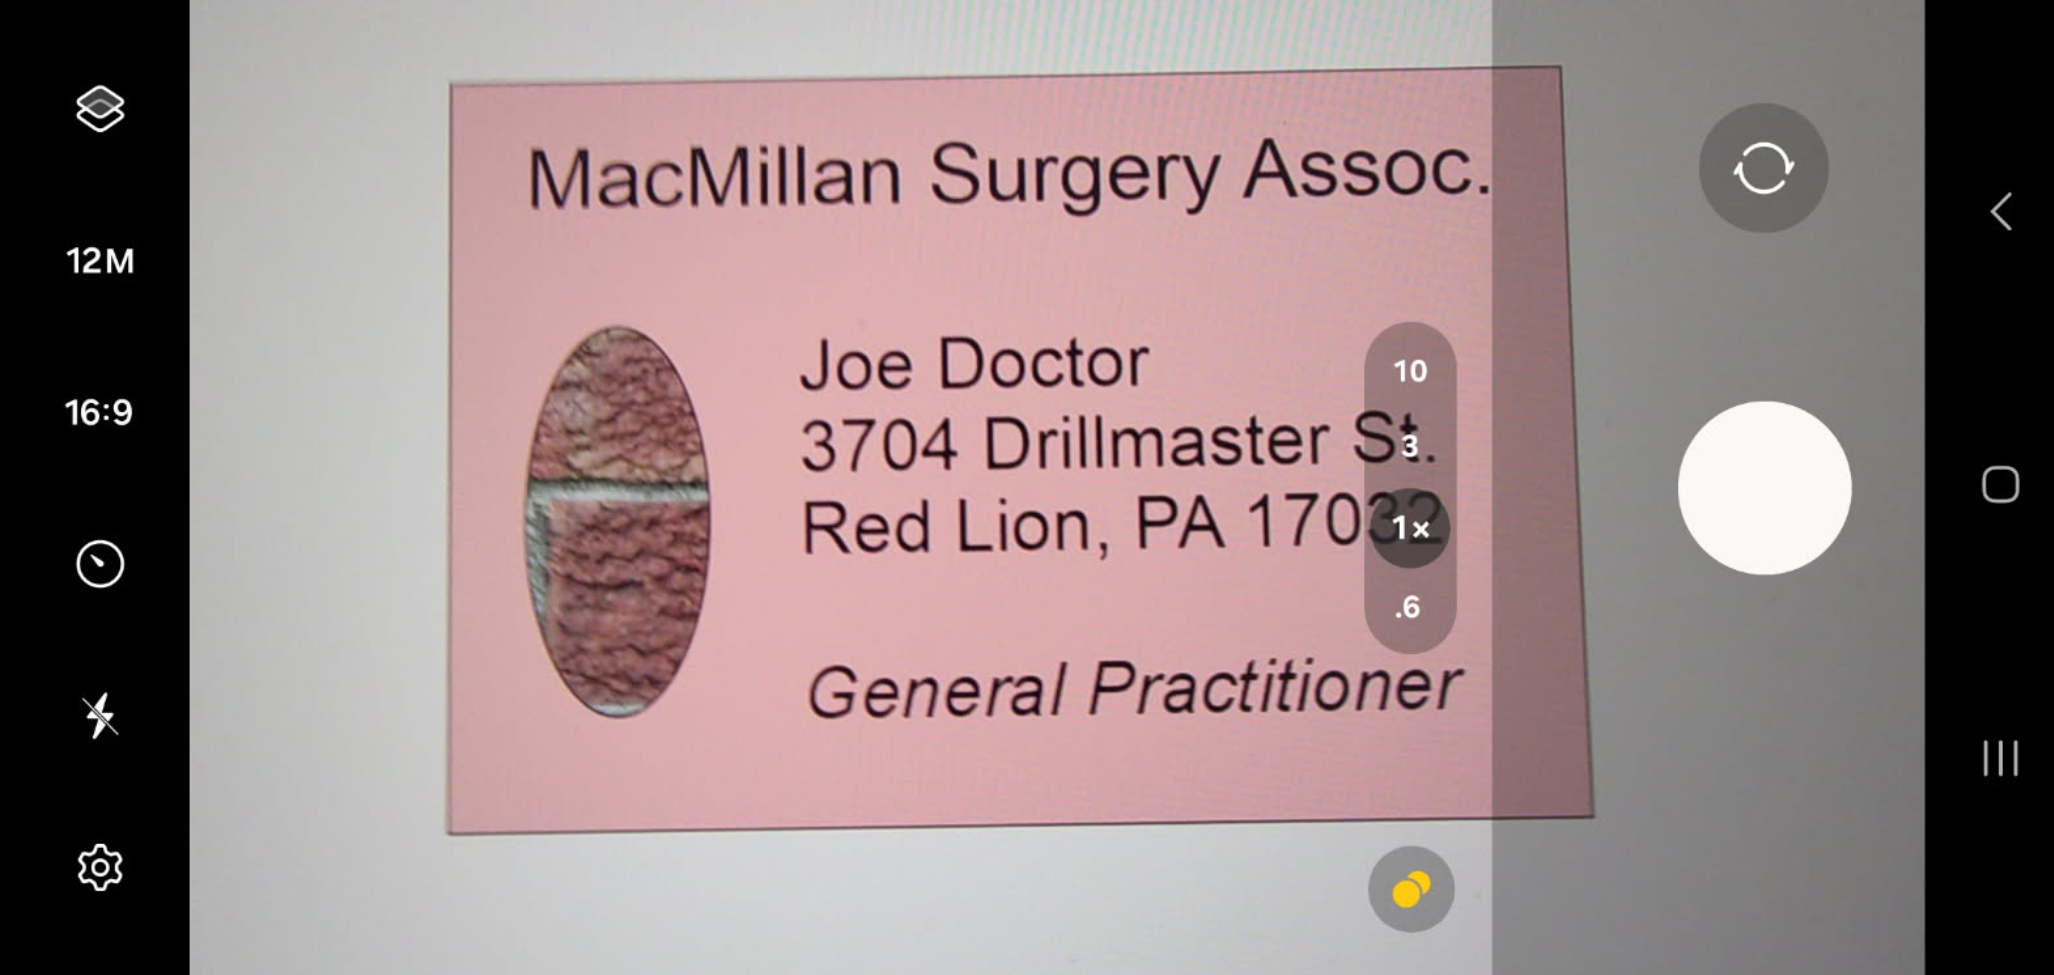
Your camera phone opens immediately.
When you take the picture, you will be asked if you want to re-take the picture. |
 |
|
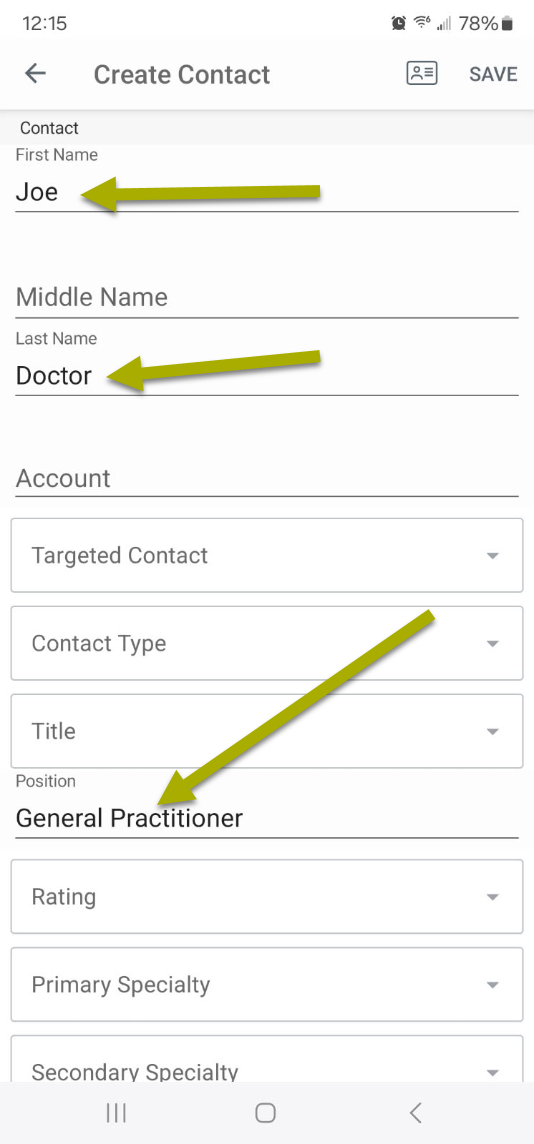
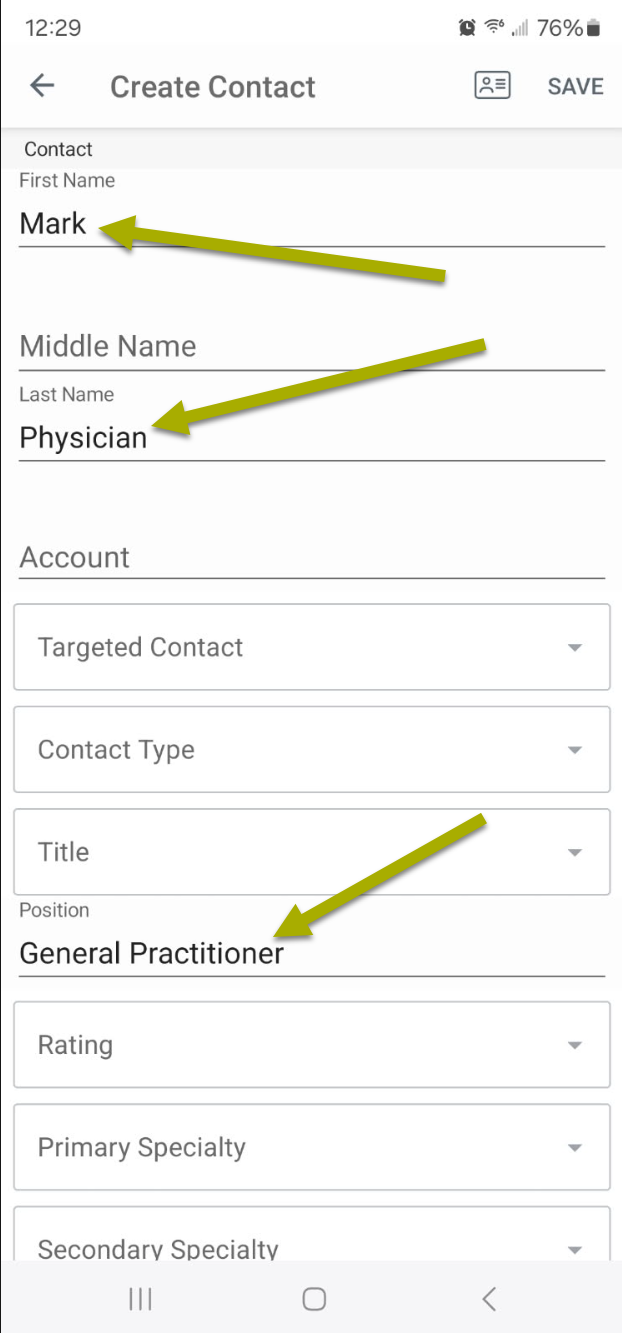
Once you accept the photo, the scan will fill in as many fields as it can identify.
As shown in the image at the right, the scan correctly identified some of the fields. We would need to add the Account, "MacMillan Surgery Associates."
|
 |
|
|
|
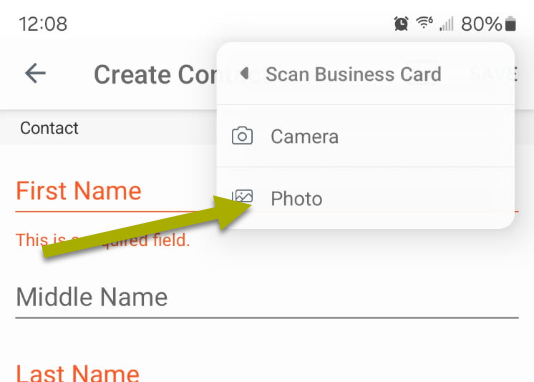
You can use the scan tool to import an image that is already on your phone.
|
 |
|
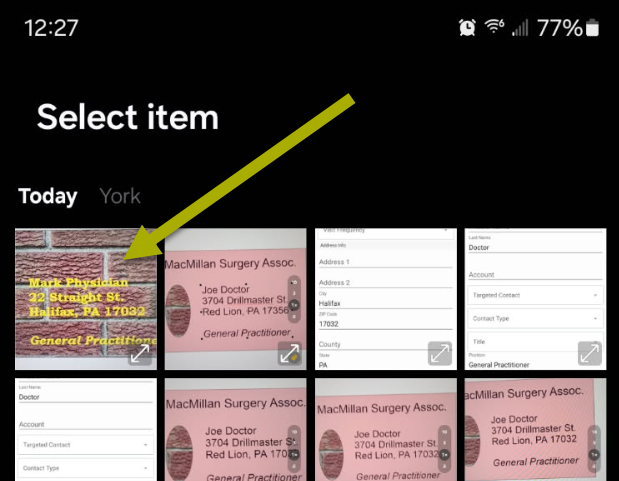
Instead of opening your phone camera to capture an image, the photos on you phone will be displayed.
|
 |
|
The scan was able to pick out some elements from the business card image.
|
 |
 How accurate is the scan?
A computer is only as accurate as the data that is entered and the programming used to process the data. In preparing this article, we used a fake business card that we created quickly.
![]() Complicated and artistic business cards with patterns and complicated typefaces may be difficult for the scanner to process.
Complicated and artistic business cards with patterns and complicated typefaces may be difficult for the scanner to process.
We did the scan a few times to see what would happen. Here are some results:
- The address never came through
- Once, the Position and Name fields were reversed, such that the physician ended up being entered as Mr. General Practitioner, and his position was "Joe Doctor."
- Initially, we had the wrong ZIP code and the scan added the correct city for the wrong ZIP code, so the scan was smarter than we were.
- Nevertheless, the fake business card we created could not be much simpler. In the end, be prepared to edit or add content.
No matter what, the business card scanner will probably save you some typing.